Create Contacts
Contacts
Efficient contact management is essential in Reach for effective communication. Here’s how to create and add contacts efficiently:
Create a New Individual Contact
- In the Conversations menu, at the top right of the conversation tray, click the icon.
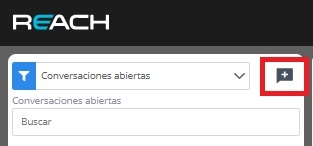
- Select “Create a New Contact.”

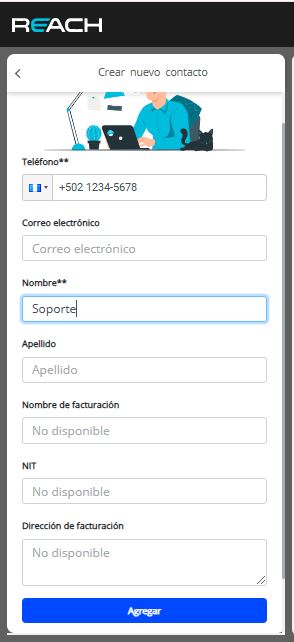
- Fill in the contact’s information; required fields are “Phone” and “Name”. Once you’ve entered all necessary data, click “Add.”
Bulk Upload Contacts in Reach
We’ve simplified the client contact upload process with a practical file-based method. Follow these steps to add your client’s information easily:
- Log in to Reach: Access your Reach account to start the process.
- Go to the Contacts Section: In the dropdown menu at the top of the screen, hover over “Contacts” and select the appropriate option.
- Click “Add by File”: Select this option to start the bulk upload process.

- Download the WhatsApp Contacts Template: Make the process easier with a provided sample template. Click on “Template for WhatsApp Contacts” and download the file.
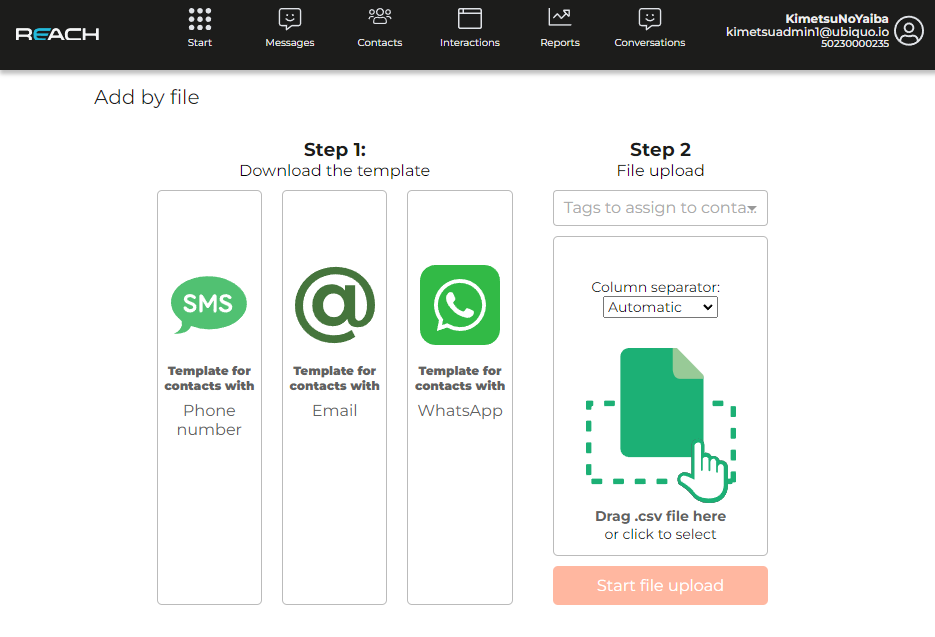
- Fill in the Required Information: The downloaded file contains sample information, but you only need to enter the phone number, name, and surname. Filling in all fields is not mandatory.
- Proceed to Step 2: Once your file is ready, click on Step 2.
- Upload Your File: Finally, attach your file and click “Start File Upload” to complete the process.